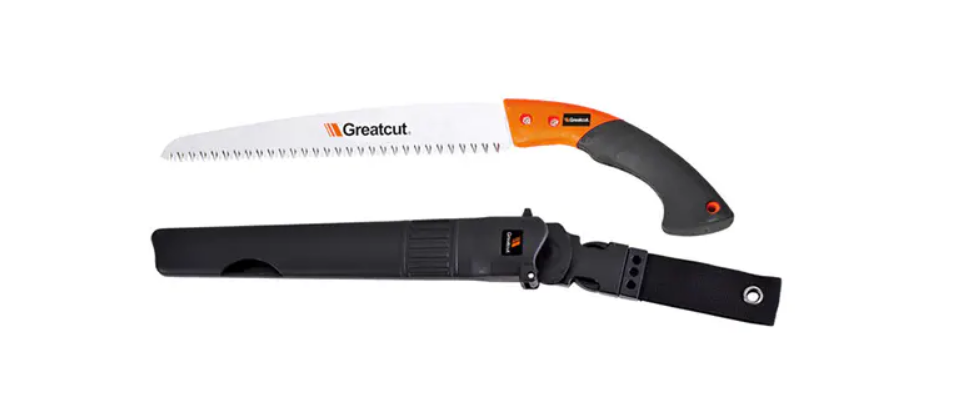
Using a pruning saw correctly makes the difference between helping plants thrive and accidentally causing harm. Proper technique begins with understanding how to position both yourself and the tool for optimal cutting. Always start by examining the branch you plan to remove, looking for the branch collar - the slightly swollen area where it joins the trunk or larger limb.
For smaller branches, a single cut with the pruning saw may suffice. Position the blade on the underside of the branch first, about 12 inches from the trunk, and make an upward cut one-third through the wood. Then move to the top side and saw downward until the branch falls away cleanly. This method prevents bark tearing that can occur if you cut straight through from above.
When dealing with larger limbs, the three-cut technique works best with a pruning saw. First, make an undercut about 18 inches from the trunk, sawing upward about one-third of the way through. Next, move 2-3 inches further out and cut downward until the limb breaks away. Finally, use the pruning saw to make a clean finishing cut just outside the branch collar. This approach prevents the weight of the branch from causing damage as it falls.
The angle of your pruning saw affects cutting efficiency. For most cuts, maintain about a 45-degree angle to the branch. Let the saw do the work - applying too much pressure can bend the blade or cause jagged cuts. On pull-stroke pruning saws, focus on applying power during the pull motion rather than the push. Keep your non-saw hand well clear of the cutting path at all times.
After making cuts with your pruning saw, avoid applying wound dressings to the cut surface. Research shows trees heal best when left to form their own protective barriers. Simply ensure your pruning saw made clean cuts and remove any resulting debris from around the tree's base to prevent disease transmission.
